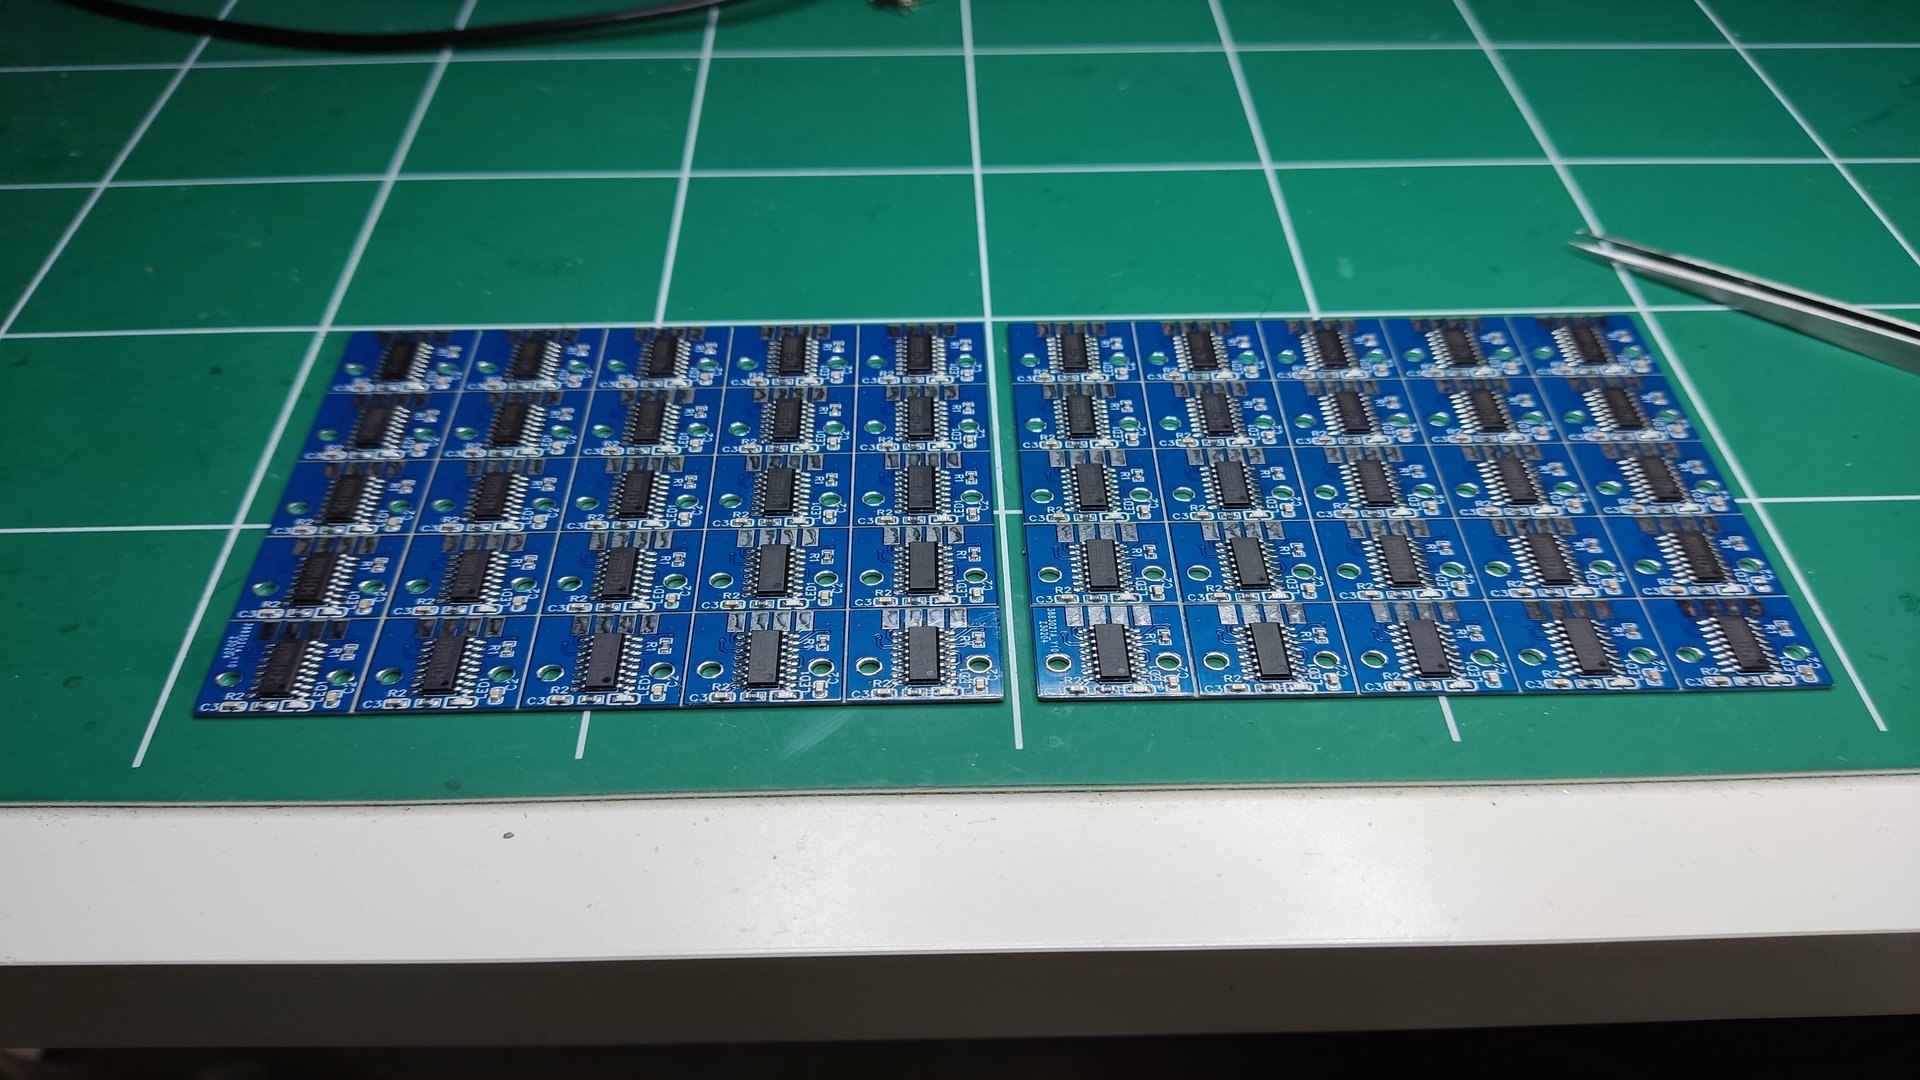
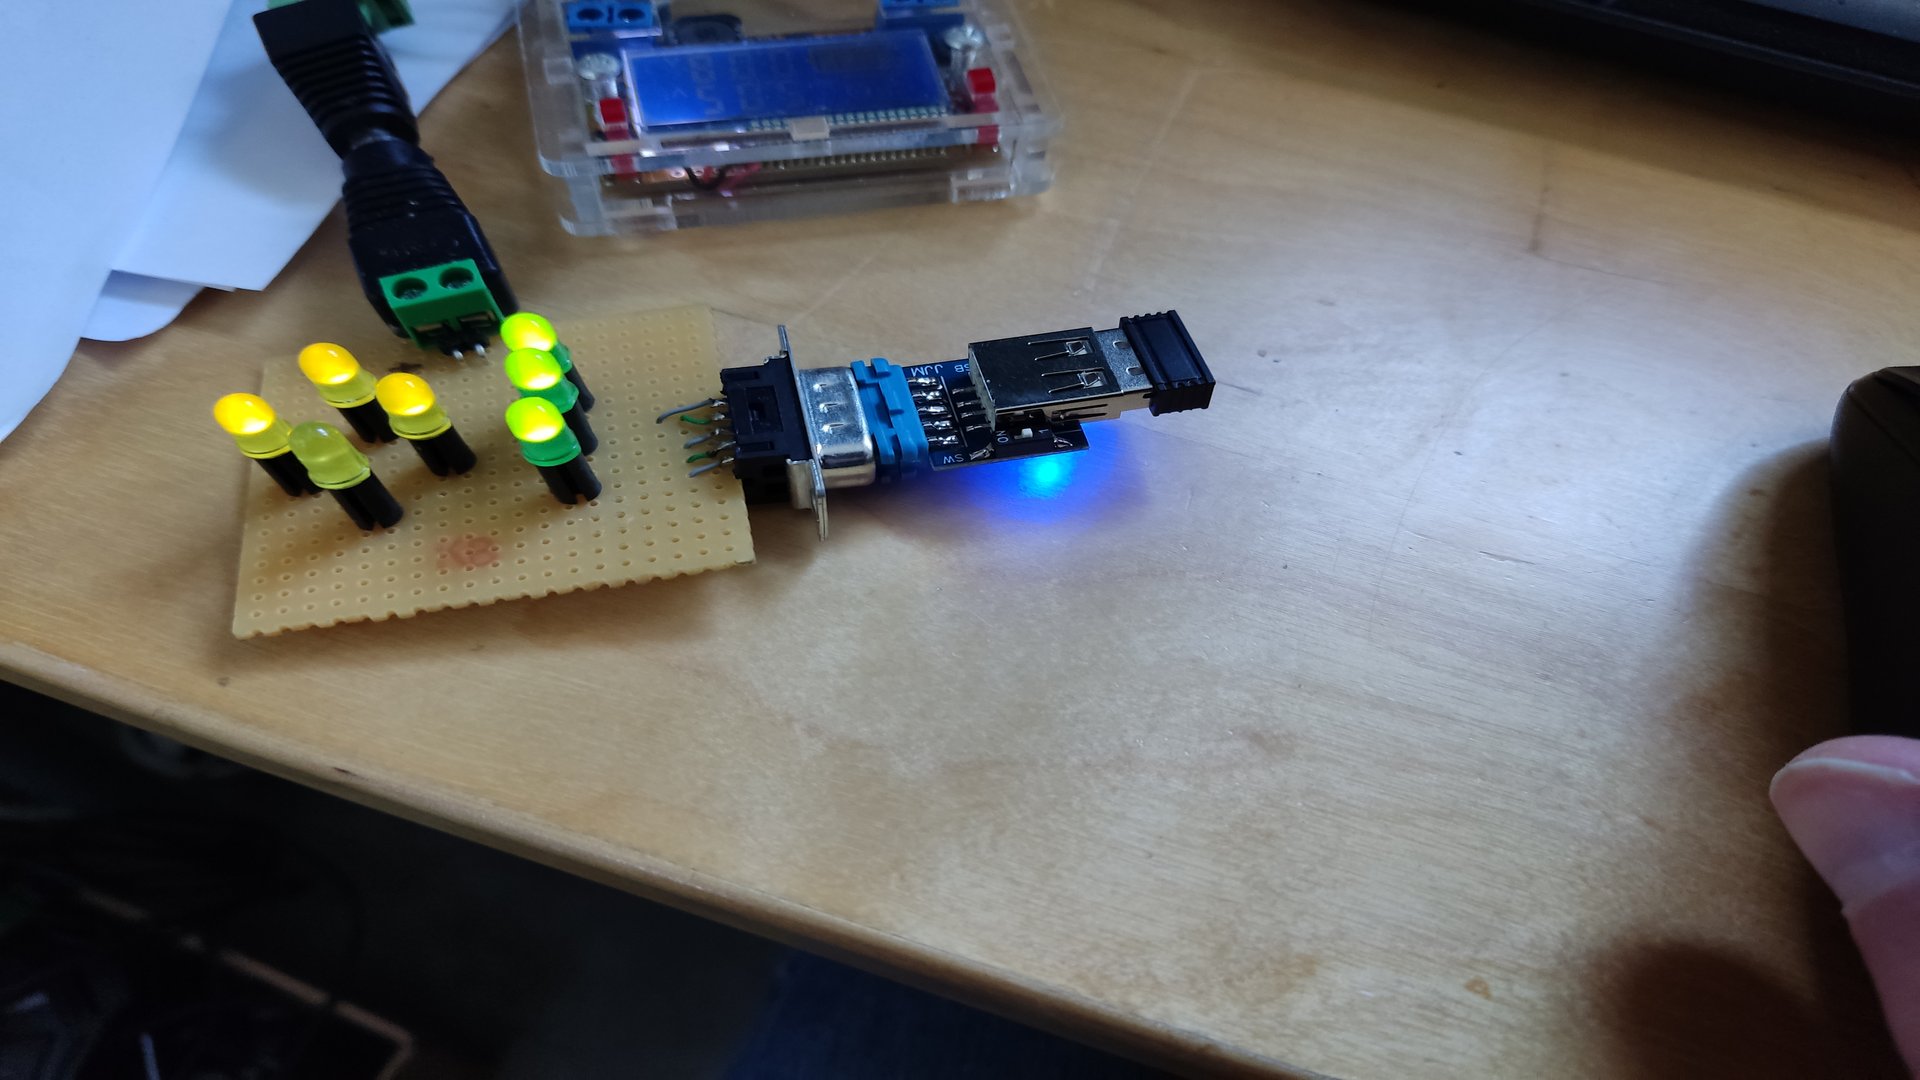
It’s been a long time since last post… Here are some photos of the latest adapter revision.
From components to finished product :


Misc. Projects&Random Useless Stuff
Well… Mostly useless stuff, in fact !

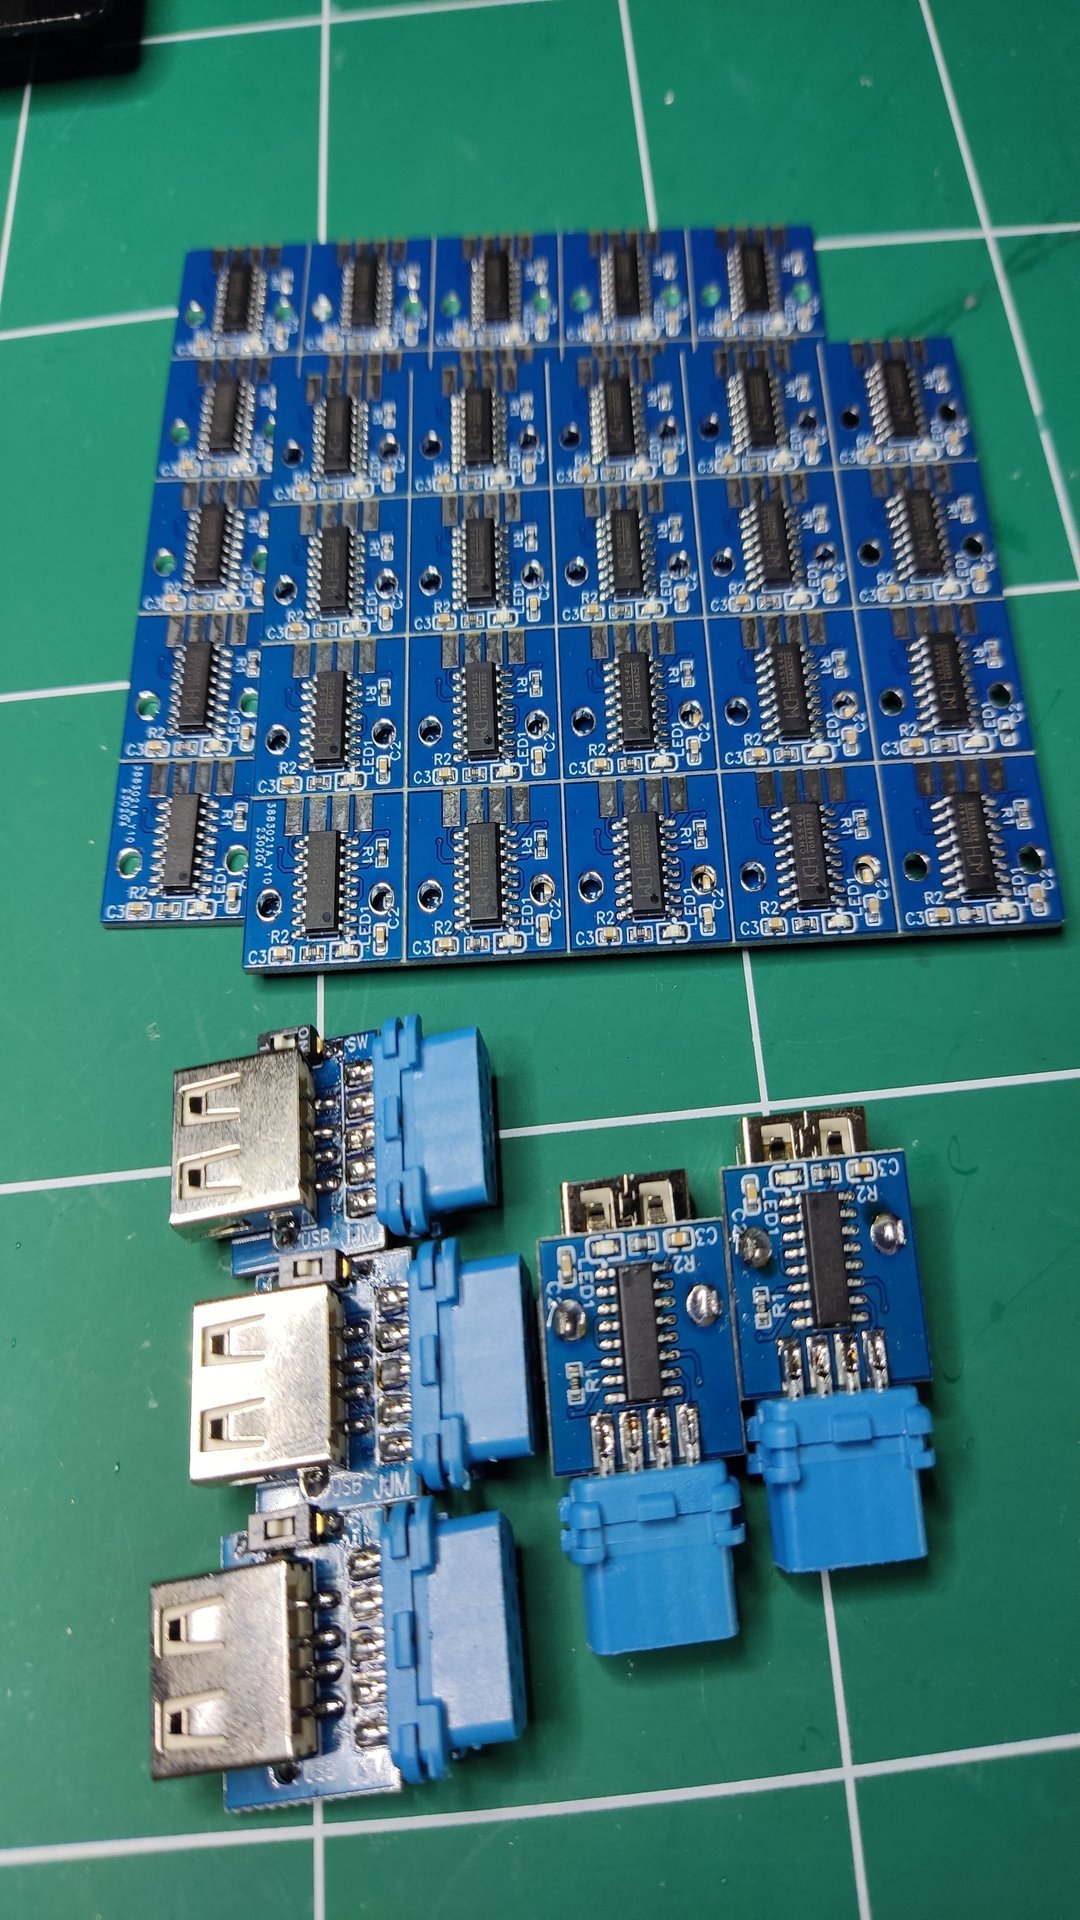
It’s been a long time since last post… Here are some photos of the latest adapter revision.
From components to finished product :
Hi there
I have installed the Win version WCHISTOOL, but I can’t find the firmware ‘BIN’ file in your GitHub file. I have read something about Python and Linux, but it’s all above my head. Also, will it work with the Amiga? As I remember the Amiga and Atari having one the mouse buttons wired up differently.
Great project btw
On github, if you go to releases page (https://github.com/jjmz/Atari-Quadrature-USB-Mouse-Adapter/releases), you will find a .bin created on oct. 22nd
Thanks,
JJ
Also, Atari/Amiga have same pinout for buttons. Only quadrature signals are different, but the firmware allows switching mode via the p3.1 pin (floating->atari, grounded->amiga).
Bravo pour ce magnifique travail pour mon ami l’Atari TT030 retrouvé dans ma cave…
Existe t il un moyen logiciel de faire fonctionner la molette roulette de la souris ?
Bonjour,
Merci – vous m’avez acheté un adaptateur, ou vous l’avez fait vous meme ?
Pour le support de la molette : l’USB fournit bien l’info, et ca serait possible (meme si ce n’est pas dans le protocole ‘boot’, la plupart des souris retournent bien l’info), mais du cote Atari, le uC qui gère le clavier ne prévoit pas autre chose que X/Y et l’état du bouton…
JJ
The eBay link on GH is dead.. are you still selling?
I have stopped producing/selling them, sorry.
This one looks remarkably similar: https://retrohax.net/shop/modulesandparts/mouster/
This one is a complete clone :
https://ebay.us/m/s0tZgR
Any other link from someone who still makes them?
Are the Gerber files available somewhere?
Hello,
Sorry I don’t maintain this project anymore – The design has already been cloned many times, and designing a PCB for it should not be difficult.
JJ